Convert HEIC Images to JPG Part 2: Mac Automator
Updated: Feb 21, 2024
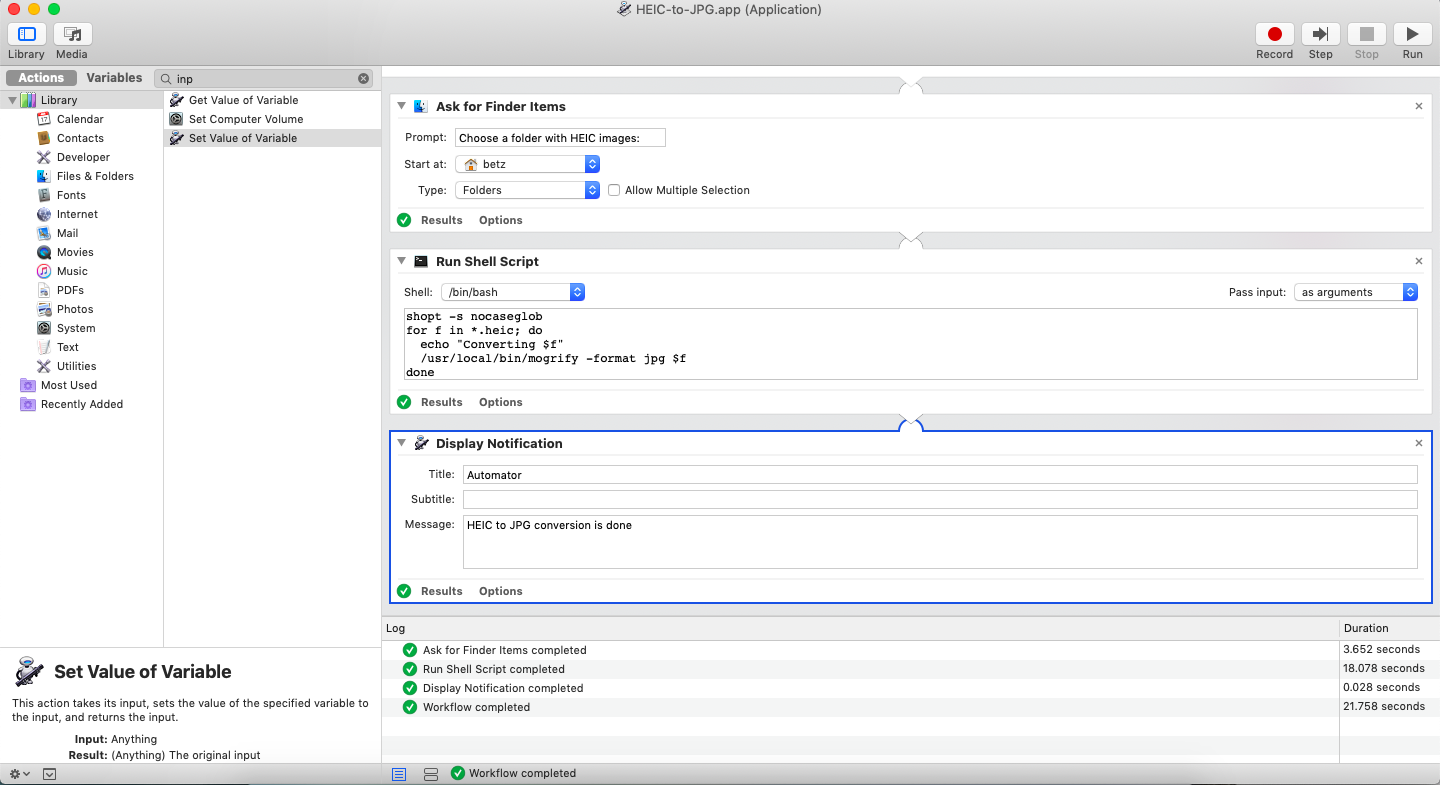
This post builds on part 1. In that post, I described the command-line steps necessary to convert hundreds of my wife’s pictures from .heic to .jpg. Well, turns out this isn’t a one-time-thing. She works in real estate, and lately has been needing to do the task more often. So I added a simple GUI using Mac Automator. A rough version of the steps follow:
-
Open Mac Automator and choose Application
-
Drag over action Ask for Finder Items
- Choose a folder to start at
- Change Type to Folders
-
Drag over action Run Shell Script
-
Choose shell
/bin/bash -
Change Pass input to as arguments
-
Paste in this script:
 dir="$@"
 cd "$dir"
 shopt -s nocaseglob
 for f in *.heic; do
   echo "Converting $f"
   /usr/local/bin/mogrify -format jpg $f
 done
-
-
Drag over action Display Notification
- Enter the Title and Message you want to display
How it works: The user runs the application and is prompted with a Finder window to choose a folder. Once a folder is chosen, the script changes to it, then does a case-insensitive search for all .heic images and converts them. When done, it displays a notification to the user.